Introduction
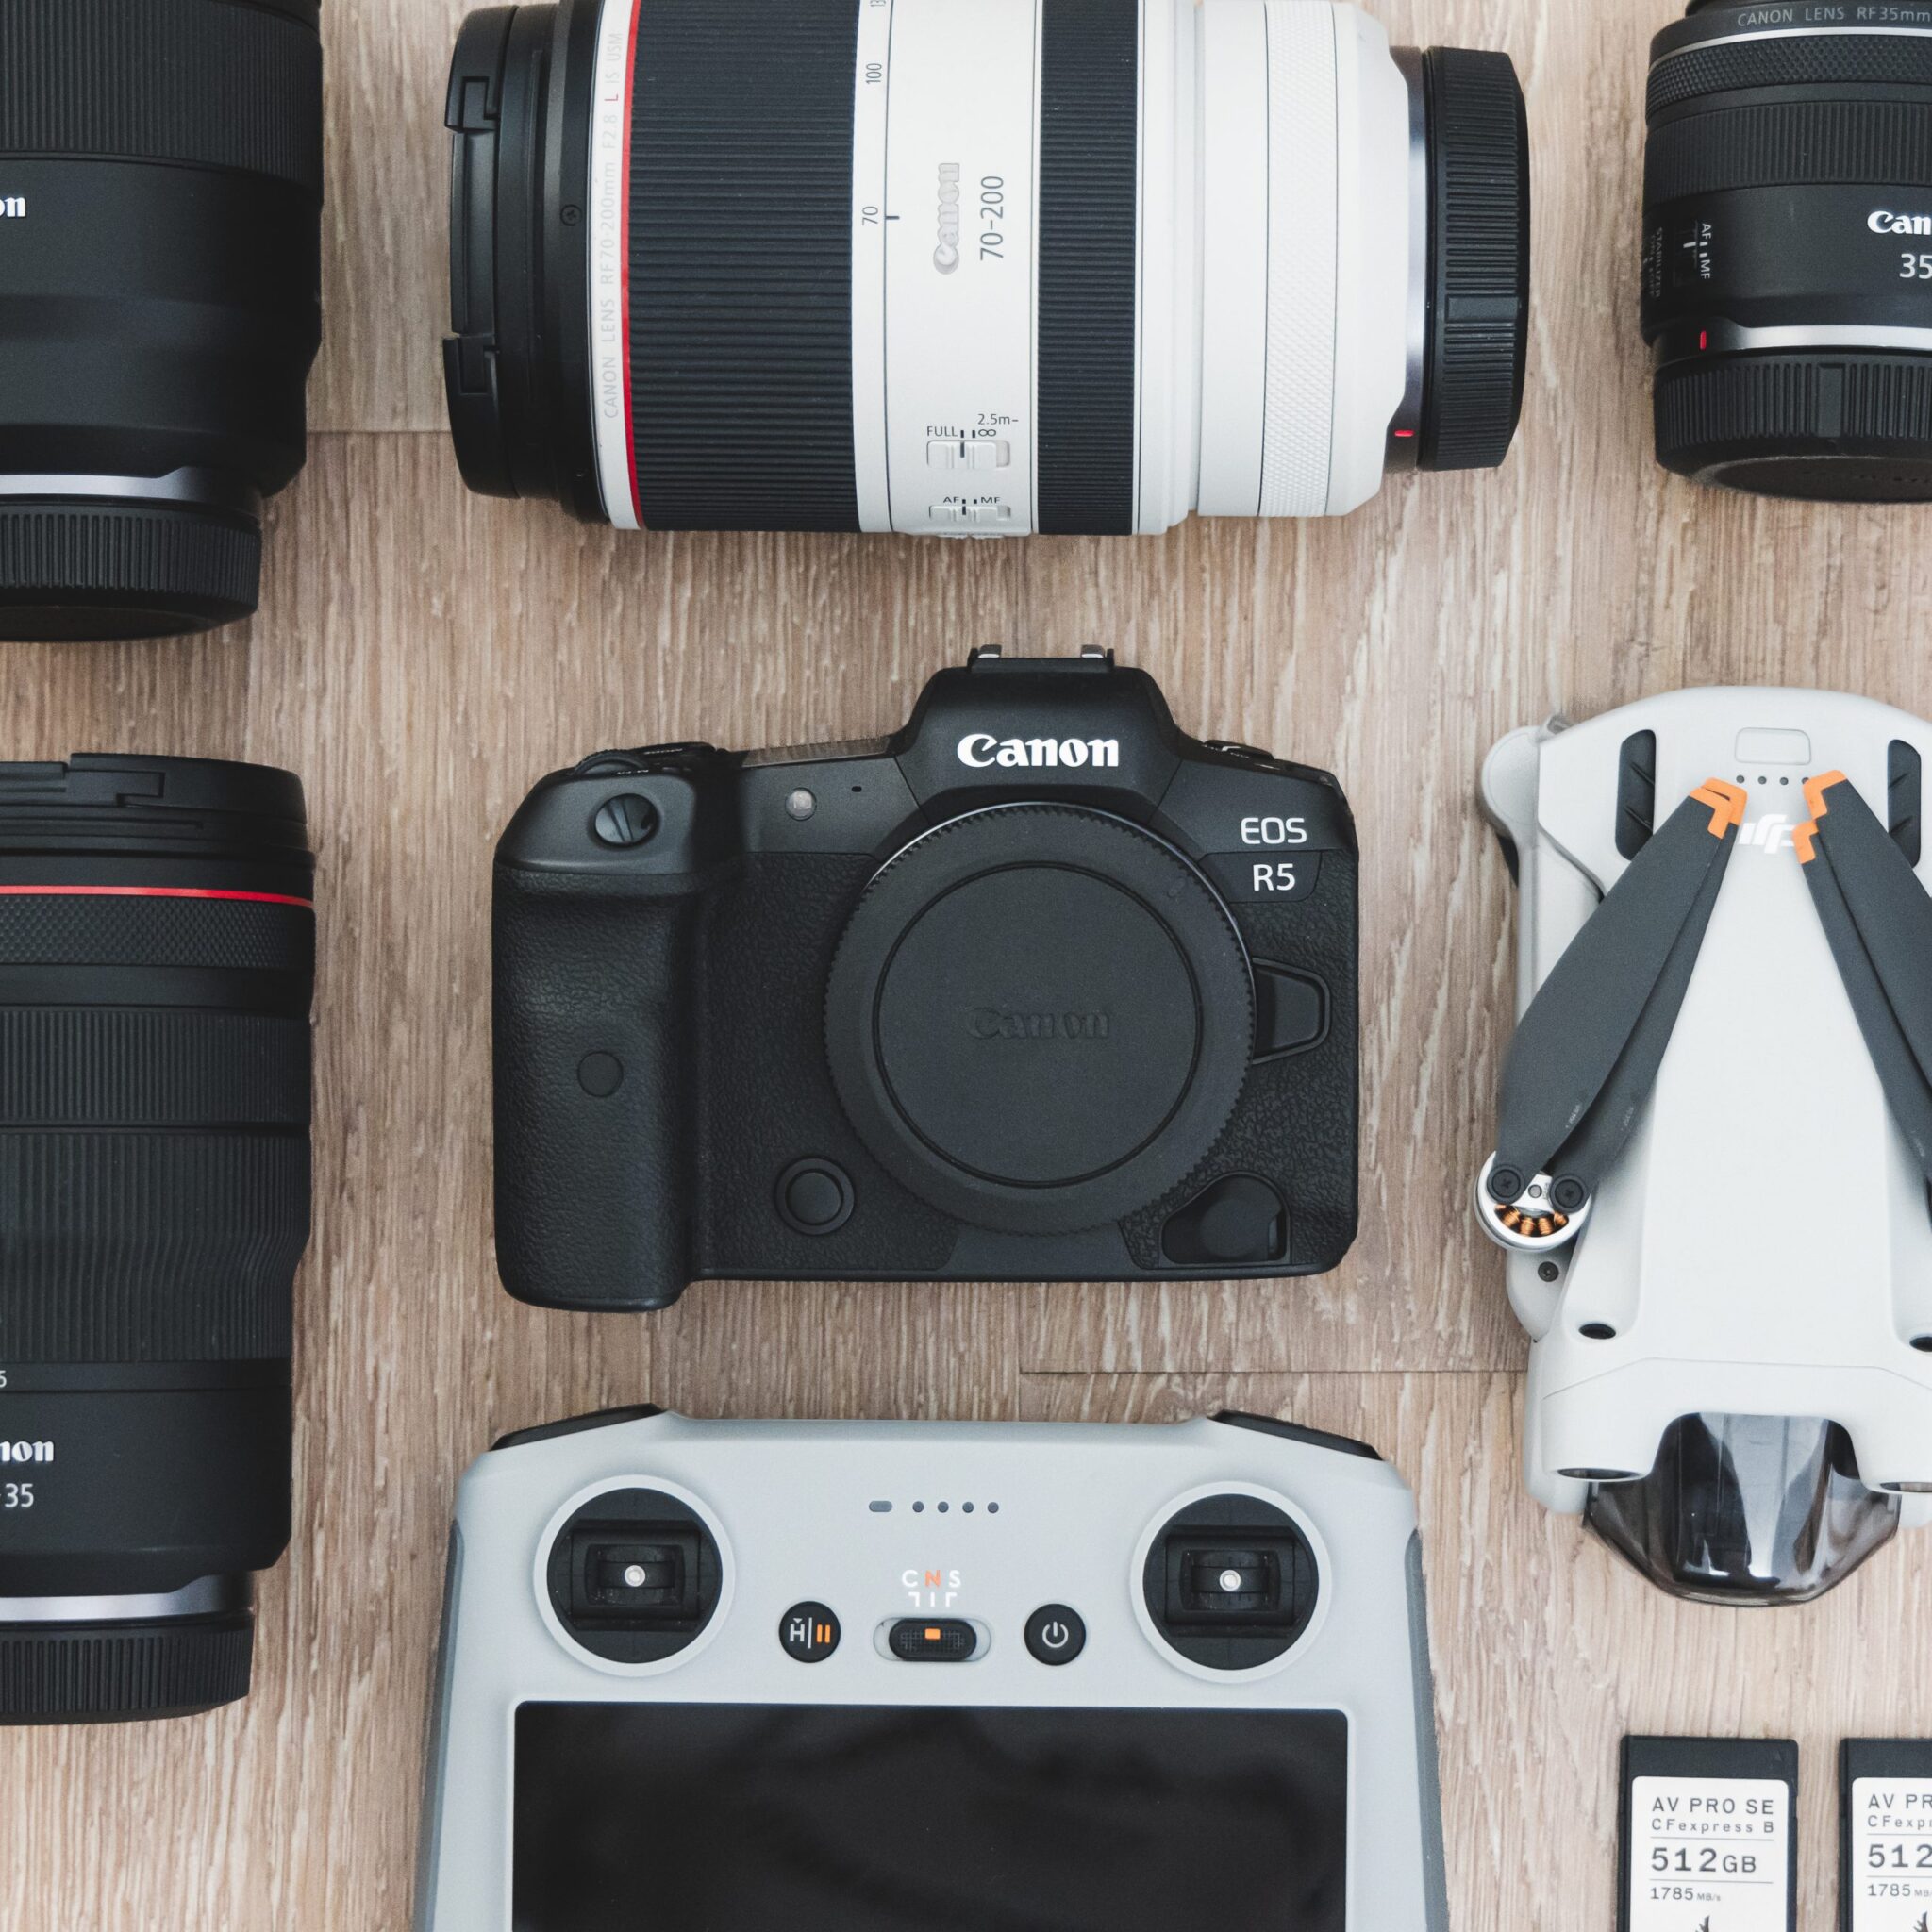
Are you a photography enthusiast looking to upgrade your gear without breaking the bank? Or maybe you’re just starting out and want to get the most value for your money? Buying used camera gear can be a fantastic way to achieve both. However, the process can be daunting if you’re unsure what to look for and where to buy from. This guide is here to help you navigate the ins and outs of purchasing used cameras and accessories, ensuring you make an informed decision and end up with gear that meets your needs.
You might ask yourself what makes me an expert in buying used camera gear? Well, over the past six years, I have exclusively purchased all my cameras and lenses used, mostly from private sellers on eBay and other similar platforms. This extensive experience has taught me the intricacies of evaluating used equipment, identifying trustworthy sellers, and negotiating fair prices. I’ve encountered both great deals and potential pitfalls, and this hands-on experience has equipped me with the knowledge to guide you through the process with confidence. With my insights, you can avoid common mistakes and find the best used camera gear for your needs.
Stay tuned as we dive into the top six essential tips for buying used camera gear. With this knowledge, you’ll be able to navigate the used camera market with confidence and make the right purchase.
Chapter 1: Know What You Need
When venturing into the world of used camera gear, the first step is to have a clear understanding of what you need. This might sound straightforward, but with the plethora of options available, it’s easy to get overwhelmed. Knowing your specific requirements will help you focus your search and make a more informed decision. If you haven’t figured out yet what camera suits your needs, then check out this post to learn more about different camera types and their features. Understanding these basics will enable you to narrow down your choices and find the perfect camera for your photography style and preferences. In addition, take into consideration what cameras your friends or family are using as this can help you share and try out different accessories, as for example lenses and flashes can only be used across one brand or series of cameras.
Chapter 2: Knowing Your Budget
Equally important to knowing what you need is understanding your budget. Setting a realistic budget ensures that you don’t overspend and helps you prioritize features based on their importance to your photography. Consider both the upfront cost of the camera body and any additional expenses such as lenses, memory cards, and accessories as those can add up quickly. As a general tip, spending the majority of your budget only on the camera body isn’t always the best way to go. The most expensive or newest camera isn’t always the best to buy.
Establishing Your Budget
Start by determining the maximum amount you’re willing to spend on a used camera and gear. This will already help you shrink down the list of available camera systems. Research current market prices for the cameras and lenses you’re interested in. Websites like eBay, MPB.com, and photography forums can provide insights into typical pricing for used gear in various conditions. On eBay.com, you can filter for the last ended auctions and see which prices are realistic for the exact model or number of accessories that were sold with the camera. Understanding these price ranges will help you gauge whether a listing is a good deal or overpriced. In addition to the camera body, consider any additional costs such as lenses, batteries, memory cards, and camera bags if you don’t already have those. These accessories can add up quickly and should be included in your budget planning to avoid unexpected expenses after purchase.
Be realistic about what your budget can afford. While it’s tempting to stretch your budget for the latest and greatest gear, remember that photography skills matter more than the equipment itself. A well-maintained older model can often produce excellent results at a fraction of the cost of newer models.
I would always recommend going for an offer that you can pick up. That way, you can assess the condition and functionality of the camera yourself, as pictures can’t always tell the whole truth about the camera.
Chapter 3: How to Evaluate the Condition of a Used Camera
Now that you have a clear idea of what you need and have set a budget, the next crucial step is to evaluate the condition of any used camera you’re considering. This step is critical to ensuring you get a reliable piece of equipment that will meet your photography needs without unexpected issues.
Step 1: Physical Inspection
You probably already have an idea of the camera’s condition based on the pictures, but it makes sense to have another look at the physical state. Cameras with bodies made of aluminum or magnesium, like the Canon 5D or Sony A7 series, can suffer from paint chips, revealing the bare metal underneath. This indicates regular and frequent use but doesn’t necessarily mean the camera isn’t usable. Often, these marks come from camera straps or other equipment constantly rubbing against the body.
Start by inspecting the corners of the body and looking for any major scratches or dents. Such damage usually indicates that the camera has been dropped or struck with force, which could have caused invisible damage to the delicate shutter assembly or other internals, leading to future problems.
Another sign of heavy use is the condition of the rubber grip, buttons, and scroll wheels. These should all feel consistent, with a noticeable click when used. In most cases, the thumbwheel and touchpad are the most worn out, indicating prolonged use. Loose rubber on the scroll wheels can cause the camera not to register every turn when adjusting settings, which can be annoying during usage. To test for this defect, turn the dials quickly in both directions and watch the monitor to ensure the camera registers all inputs, such as aperture or shutter speed adjustments.
Step 2: Shutter Count
While the shutter count is a key indicator of a camera’s usage, it’s not the only measurement to consider. Manufacturers like Sony and Canon rate their cameras for a certain number of shutter actuations. Cheaper, lower-end models have a shorter life expectancy of 100k – 200k actuations, whereas mid to high-end models are rated for 350k – 500k shutter actuations. This doesn’t mean the camera will necessarily fail after reaching this number, but it’s a good indicator of potential longevity.
However, a camera with 60k photos taken might still be a good buy. Consider how many photos you realistically plan to take. For example, a wedding photographer might shoot 5-10k photos per weekend, while a travel photographer might only take 15-20k photos a year. As a general rule, everything under 60k for mid and higher-end cameras like the Canon 80D, 5D, or Sony A7 series is usable, but these should be cheaper compared to the same models with 20-35k actuations. I would also buy a 1D series camera with a 100-130k shutter count, but anything above that is risky.
Nowadays, it’s quite simple to read the shutter count of cameras. For all Sony E-Mount cameras (A7, A9, A1, and the A6000 series), you can upload the last photo taken to Shutter Tool. For Canon and Nikon cameras, it’s a bit more complicated but can be done using the ShutterCount app for Mac. An exception is Canon 1D cameras, which have a built-in shutter count in the menu system, similar to Panasonic cameras. It’s also important to note that the file number of the image isn’t a reliable source since it resets to 1 after reaching 9999.
Step 3: Sensor and Shutter Assembly
When inspecting the sensor, ensure there is no physical damage like scratches. While examining the sensor, also look at the shutter assembly. In some models, it can be slightly crooked or not entirely horizontal, but there should be no scratches, dents, or other marks on the blades. To test the shutter, take multiple pictures at different speeds (e.g., 1/10, 1/200, 1/800, 1/2000, 1/4000, and 1/8000). Look for vertical black bars or small bright vertical lines at the top of the photos, which indicate the shutter is failing.
To test the sensor, put the lens or camera cap on and set the camera to auto (especially the ISO). In this mode, the camera will try to get as much light on the sensor as possible. If you see single red spots on the display, these are hot pixels, which aren’t a big problem. If you want to learn more about hot pixels, I recommend this article.
More problematic are dead pixels. To test for these, take a picture of a white wall or piece of paper, zoom in, and look for black or red spots with perfectly sharp edges. Dead pixels require a sensor replacement, which is costly and usually not worth it. In photos, you can easily remove dead pixels in post-production using software like Lightroom or Photoshop. If the dead pixels are on the edge of the image, they might not even be noticeable. However, I personally wouldn’t buy a camera with this issue. In videos, those spots become much more visible and can ruin your shot. There are software tools that can help make them less noticeable, but they don’t always work perfectly and might introduce other unnatural artifacts.
By following these steps, you can minimize the risk of purchasing a camera with hidden issues, ensuring that you get a reliable piece of equipment and have fun on your photographic journey.
Chapter 4: Verifying the Source
When buying used camera gear, one of the most crucial steps is verifying the source of your purchase. This step helps ensure you get a reliable piece of equipment and avoid potential scams or issues even before you take a
long drive to pick up the camera. Here’s how I approach this:
Retailers vs. Private Sellers
First, decide whether to buy from a retailer or a private seller. Retailers like MPB.com offer a level of security with their detailed descriptions, warranties, and return policies. They inspect and grade the gear, so you know exactly what you’re getting. This peace of mind can be worth the slightly higher price compared to private sales. I would still check the camera for all the aspects mentioned in the next chapter, as I already received faulty products from retailers.
On the other hand, buying from private sellers, whether on eBay, photography forums, or local classifieds, can often get you better deals. However, this route requires more diligence. Always check the seller’s ratings and reviews and especially when the account was created. A seller with consistently positive feedback is more likely to be trustworthy and if the account was created on the same day or a couple of days ago, I would be very skeptical.
Professional Photographers vs. Regular Users
Another consideration is whether the seller is a professional photographer or a regular user. Professional photographers tend to take better care of their gear since their livelihood depends on it. They might also have higher-end equipment in better condition for a better price and most professionals send in their equipment for regular checks and repairs. However, they also tend to put more mileage on their cameras.
Regular users, on the other hand, might not use their gear as intensively. Their equipment could be in better overall condition but might lack the rigorous maintenance a pro might perform. Both options have their pros and cons, so weigh them based on your needs and comfort level. I personally don’t have a preference here as long as the camera is in a good condition and checks all my criteria.
Checking for Red Flags
When dealing with private sellers, always be on the lookout for red flags. Be cautious if a deal seems too good to be true or if the seller is unwilling to provide detailed photos or answer questions about the camera’s history. Ask about the reason for selling, how often the camera was used, when it was purchased, and if they have a receipt and if there were any issues or repairs. A genuine seller will be transparent and forthcoming with this information.
In addition, I like to have a closer look at the pictures, especially the power supply. Most scammers use images available on the internet or other platforms and if there is a different power cable in the picture to what local outlets take, it’s a dead giveaway for me that it is a scam. Also, pixelated images or images that are perfectly cropped to just show the product are a sign for me to be more careful. Unfortunately, with modern software, it is very easy to manipulate images and the trick of asking for a piece of paper with your name in front of the product isn’t as reliable as it might have been.
Verifying the source of your used camera gear is essential to avoid potential pitfalls. Whether buying from a reputable retailer or a private seller, doing your due diligence can save you from future headaches. In our next chapter, we’ll dive into how to check the camera for defects.
Conclusion
Buying used camera gear can be a smart and economical way to enhance your photography equipment. With the right knowledge and careful consideration, you can find high-quality gear that fits your needs and budget. Remember to clearly define your requirements, set a realistic budget, thoroughly inspect the camera, and verify the source of your purchase. By following these guidelines, you’ll be well-equipped to make an informed decision and enjoy your photographic journey without unnecessary hassles. Happy shooting!